
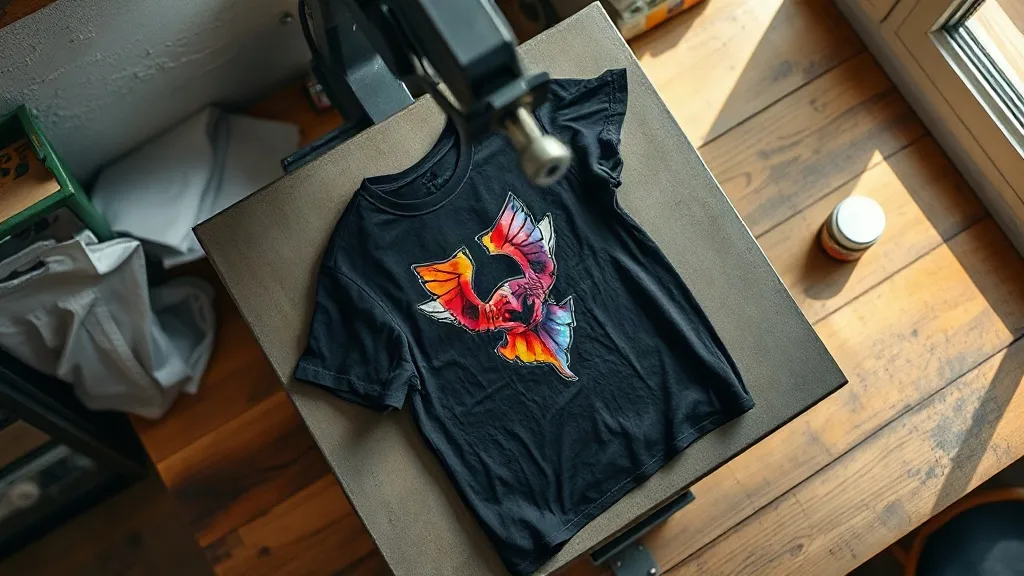
Most people who try dtf transfers for the first time run into the same wall: the print looks great on day one and starts to crack, peel, or dull after a few washes. The material itself is rarely the problem. What fails is the press setup and the choice of blank. Get those two things right and DTF becomes one of the most forgiving decoration methods you can run in a small shop or a home studio.
This guide walks through what dtf actually is, how to press it so the film releases cleanly and the ink bonds properly, and how to match transfers to garments, including why a blank like shaka wear behaves differently from a generic tee. It is written for people who want fewer ruined shirts and more repeatable results, not for anyone chasing shortcuts.
What DTF Transfers Actually Are
DTF stands for direct to film. A printer lays down water-based pigment ink onto a special PET film, then applies a hot-melt adhesive powder over the wet ink. The powder fuses into the ink under heat, and what you end up with is a flexible, pre-formed transfer that can be pressed onto almost any fabric. Unlike DTG, which prints directly onto a pretreated garment, DTF prints onto film first and transfers later.
That separation is the whole appeal. You can print a batch of transfers today and press them onto cotton, polyester, blends, canvas, or nylon next month without changing your ink or pretreatment routine. The adhesive layer does the bonding work, so the fabric underneath matters less than it does with DTG or screen printing.
Why the Powder Layer Matters
The adhesive powder is what makes or breaks durability. If the powder is applied too thinly, the transfer will sit on the surface and flake off. Too much and you get a stiff, plastic-feeling patch that cracks along fold lines. Quality suppliers control this during production, which is why transfer quality varies so much between vendors. When you buy transfers, look for even powder coverage and a matte, slightly textured back. Glossy or patchy adhesive is a warning sign.
Pressing DTF Transfers Correctly
Pressing is where most failures happen. The variables are temperature, pressure, time, and peel method, and they interact with each other. A common starting point is 160°C (320°F) for 15 seconds at medium pressure, but treat that as a baseline, not a rule. Thick garments and heavy ink coverage usually need more time or slightly higher temperature, while thin synthetics need less heat to avoid scorching or dye migration.
A Repeatable Press Routine
- Pre-press the garment. Five to ten seconds removes moisture and wrinkles. Moisture is the enemy of adhesion, especially on cotton.
- Place the transfer with the ink side down. The film backing should face up toward the upper platen. Getting this backwards is the single most common beginner mistake.
- Press at medium pressure. You want firm contact, not a crushed garment. If your press has a pressure gauge, aim for consistency rather than maximum force.
- Peel warm or cold, depending on the film. Cold peel films want the transfer to cool for a few seconds before you pull the backing. Warm peel films release immediately. Check what your supplier specifies and stick to it.
- Post-press for a few seconds. A short second press with a cover sheet or parchment sets the ink and smooths the surface. It also improves wash resistance noticeably.
Keep a simple log of temperature, time, and pressure for each fabric type you work with. After a dozen jobs you will have your own reference chart, and that chart is worth more than any generic setting guide because it reflects your press, your transfers, and your climate.
Choosing the Right Blank for DTF
DTF adheres to a huge range of fabrics, but that does not mean every blank performs the same. Surface texture, weave density, and dye content all affect how the transfer looks and how long it lasts. A loose, slubby knit will show the print following the fabric surface, which can look intentional and textured or sloppy and uneven depending on the design. A tight, smooth jersey gives you a cleaner, more graphic result.
Dye migration is the other factor. On some polyester and poly-blend garments, dye in the fabric can sublimate into the transfer adhesive during pressing and tint the print, especially with white or light inks. Lower press temperatures, shorter dwell times, and a quality blank reduce the risk. This is one reason a garment like shaka wear is popular in print shops: consistent fabric and dye behavior makes pressing predictable, and predictable pressing is what keeps your reject pile small.
Matching Transfer to Garment Weight
Heavyweight tees and hoodies can take a slightly higher temperature and longer dwell without risk. Lightweight triblends and performance fabrics need a gentler approach. On very stretchy fabrics, keep designs away from seams and high-stretch zones, because the ink film stretches less than the garment and will eventually crack at stress points. If a customer wants a full back print on a stretchy tee, a slightly thinner ink deposit and a design with fewer fine lines will age better.
Common Problems and How to Fix Them
- Transfer peels after washing. Usually under-pressing or moisture in the garment. Pre-press longer, raise pressure slightly, and add a post-press.
- Patchy, cloudy ink. Often caused by uneven pressure across the platen or a worn press pad. Check the pad and consider a platen cover.
- Cracking along folds. Ink deposit too thick, or the design sits on a high-flex area. Reduce ink coverage and reposition the artwork.
- Yellowing or scorching on light fabrics. Temperature too high or dwell too long. Drop the temperature and increase time slightly instead.
- Adhesive residue around the edges. Trim the transfer closer to the artwork before pressing, or use a transfer with a tighter powder application.
None of these are exotic failures. They are the ordinary friction points of a process that rewards attention to detail. Once you can diagnose them quickly, DTF stops feeling finicky and starts feeling reliable.
Wash Durability and Customer Expectations
Realistic expectations matter as much as good technique. A properly pressed DTF transfer on a suitable blank will typically hold up through dozens of home washes without significant fading or peeling, but it will never be as permanent as a screen print on the same fabric. Tell customers to wash inside out, in cold water, and to avoid tumble drying on high heat. Those three habits extend the life of any printed garment more than any product upgrade.
For shop owners, build a small durability test into your routine. Press a sample, run it through five or ten wash cycles, and inspect the edges. You will learn more from that sample than from any spec sheet, and you will catch problems before they reach a customer.
Frequently Asked Questions
Can DTF transfers be applied to dark and light fabrics equally well?
Yes. The white ink base in DTF transfers is what makes them work on dark garments, so a black tee and a white tee use the same transfer. The main difference is that light fabrics show scorching and dye migration more easily, so keep an eye on temperature when pressing onto pale or heat-sensitive blanks.
How long should I wait before washing a freshly pressed DTF shirt?
Give it at least 24 hours. The adhesive continues to cure as it cools and settles, and washing too soon can weaken the bond before it has fully set. After that first day, normal cold-water washing is fine.
Do I need a commercial heat press for DTF transfers?
A home iron can work in a pinch but it rarely delivers even pressure or consistent temperature, which is exactly what DTF needs. A small clamshell or swing-away press is a far better investment than replacing ruined garments, and entry-level units are affordable for hobbyists.
Why do my DTF prints feel stiff?
Stiffness usually comes from a heavy ink deposit or too much adhesive powder. Larger solid designs feel stiffer than fine line work, and thicker ink layers feel stiffer than thin ones. Reducing coverage, choosing designs with negative space, and pressing at the correct temperature rather than over-pressing all help.
Can I layer DTF transfers on top of each other?
You can, but it takes care. Press the first transfer, let it cool, then press the second on top with a cover sheet. Layering increases thickness and stiffness, so it works best for small accent details rather than large overlapping blocks of color.