
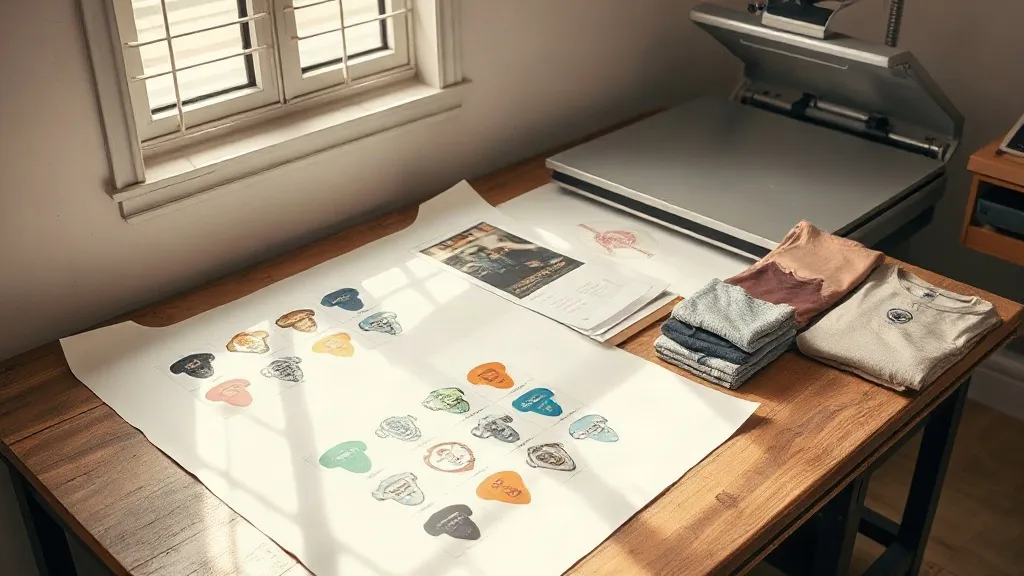
Most people who start printing their own shirts hit the same wall around order number three. The blanks are fine, the artwork is ready, but the math stops working. Ordering one transfer per design means paying setup and shipping over and over, and the per-shirt cost never drops. That is exactly the gap a gangsheet closes, and it is why pairing shaka wear blanks with a well-planned transfer sheet has become a common workflow for small shops, side hustles, and anyone printing for a local team or event.
This piece walks through how that pairing actually works in practice: what makes Shaka Wear a sensible blank, how a gangsheet changes your cost structure, and the small decisions that separate a clean print from a wasted sheet. No hype, just the parts that matter when you are the one pressing the shirts.
Why Shaka Wear Blanks Earn Their Place in a Print Run
Shaka Wear built its reputation on heavyweight cotton at a price that does not punish you for ordering a few dozen pieces. The brand is closely associated with streetwear and skate culture, and that shows in the cut: boxier shoulders, a fuller body, and a fabric weight that holds its shape after repeated washes. If you have ever pulled a cheap tee out of the dryer and found it half a size smaller with a twisted hem, you understand why that matters.
For DTF printing specifically, fabric weight and surface texture do more work than most people expect. A heavier cotton knit gives the adhesive powder something stable to bond to, and the finished print sits on the surface rather than sinking into a loose weave. Lighter, slubbier fabrics can produce a slightly textured result that some people like and others do not. Shaka's heavier options tend to give a smoother, more consistent release, which makes them forgiving for anyone still dialing in their press settings.
What to Check Before You Commit to a Blank
Before you build a whole sheet around one style, order a couple of samples and run them through your normal process. Pay attention to three things:
- Shrinkage after one wash. Press a test print, wash it warm, dry it, and measure. If the shirt pulls in noticeably, size your print slightly smaller than the final placement you want.
- Color accuracy on dark garments. A white underbase is standard for DTF, but very dark or saturated blanks can shift the perceived color of thin lines and small text.
- Hand feel where the print lands. Chest prints on heavyweight cotton feel different from prints on a lighter tri-blend. Neither is wrong, but your customer will notice.
None of this takes long, and it saves you from discovering a problem after you have already pressed forty shirts.
How a Gangsheet Changes Your Cost Per Shirt
A gangsheet is simply one large transfer film holding many individual designs, arranged to use as much of the surface as possible. Instead of ordering ten separate transfers, you order one sheet with ten designs nested together. The printer charges by sheet size, not by design count, so the more efficiently you fill the space, the lower your cost per piece.
This is where a DTF Gangsheet Builder does real work. Rather than uploading a flat file and hoping the layout is sensible, you place each design on a canvas, see the dimensions, and watch the sheet fill up. You can rotate pieces, group small logos together, and check that nothing overlaps or runs off the edge. The tool handles the nesting logic that used to require a design program and a lot of patience.
Filling a Sheet Without Wasting Film
The instinct when you first open a builder is to drop in your biggest designs and call it done. That leaves awkward gaps. A better approach is to think in layers:
- Place your largest designs first, since they are hardest to move around later.
- Fill the leftover corners with small chest logos, sleeve prints, or neck labels.
- Keep a small buffer between designs so your cutter has clean lines to follow.
- Double-check that no two designs are closer than your press can handle.
Those small fills are where the savings live. A sheet that carries four back prints and twelve pocket logos costs roughly the same to produce as one carrying only the four back prints, but the per-unit cost drops sharply.
Matching Print Size to Garment and Placement
Getting the print size right is the difference between a shirt that looks intentional and one that looks like a mistake. Standard placements vary by style, and Shaka's boxier cuts tend to run a little wider through the chest, which shifts where a print should sit.
- Full front: roughly 10 to 12 inches wide for adult sizes, centered about three inches below the collar.
- Left chest: 3 to 4 inches wide, positioned so the top edge sits about seven inches from the shoulder seam.
- Full back: 11 to 13 inches wide, starting two to three inches below the collar.
- Sleeve: 2.5 to 3.5 inches, aligned with the sleeve's natural fold.
These are starting points, not rules. Print a test on your actual blank, hold it up to a mirror, and judge it with your own eyes. A design that looks balanced on a slim tee can feel cramped on a relaxed fit.
Press Settings That Keep DTF Prints Intact
DTF transfers are forgiving, but they are not indestructible. The two failure modes you will see most often are incomplete adhesive bonding, which shows up as peeling at the corners after a few washes, and over-pressing, which flattens the print and gives it a plastic sheen.
A reasonable starting point for most cotton and cotton-blend blanks is a press around 300 to 320 degrees Fahrenheit for 10 to 15 seconds at medium pressure for the initial press, followed by a short second press of 5 to 8 seconds after the carrier film is peeled. Peel while the transfer is still warm unless your film specifies a cold peel. Always follow the film manufacturer's guidance over any general number, because films differ.
One habit worth building: press one shirt from every new batch of film and wash it before you commit to a full run. It costs you one blank and one transfer, and it catches problems that a visual inspection will not.
Where This Combination Makes the Most Sense
The Shaka Wear plus gangsheet workflow fits a specific kind of buyer. It is a good match for a small brand running limited drops, a team or club ordering matching shirts with a few different designs, a print shop handling several small client orders at once, or anyone selling at markets and events where inventory needs to be flexible.
It is a less obvious fit for very large uniform orders where every shirt is identical. At that volume, screen printing usually wins on cost, and the setup work is worth it. DTF shines when designs change often, quantities are modest, and you want to avoid minimums.
A Simple Way to Plan Your First Sheet
Start with a realistic goal: how many finished shirts do you actually need in the next month? Build one sheet around that number rather than filling it for the sake of filling it. Transfers keep well when stored flat, cool, and dry, but they are not free, and a sheet of designs you never press is just money sitting in a drawer.
Order a couple of blanks in the styles you plan to use, run your test prints, and only then build the full sheet. The extra week of preparation almost always pays for itself in avoided reprints.
Frequently Asked Questions
Can I mix different designs on the same gangsheet?
Yes, and that is the main reason to use one. You can place back prints, chest logos, and sleeve designs together on a single sheet as long as they fit within the sheet dimensions and leave enough spacing for clean cutting. Mixing sizes is encouraged because small designs fill the gaps large ones leave behind.
Do DTF prints work well on heavyweight Shaka Wear tees?
They generally do. Heavier cotton gives the adhesive a stable surface, and the print holds up through normal washing when pressed correctly. The main thing to watch is heat and pressure: very heavy fabric sometimes needs a slightly longer or firmer press to bond fully, so test one shirt before running a batch.
How much does a gangsheet actually save compared to single transfers?
It depends on how well you fill the sheet, but the savings come from paying for one sheet instead of many individual transfers. A well-packed sheet with a mix of large and small designs can bring the per-design cost down substantially. A half-empty sheet saves much less, which is why layout planning matters.
Can I use the same sheet for different shirt sizes?
You can, but scale the print accordingly. A design sized for an adult large will look oversized on a youth small. Many people build separate sheets per size range, or include scaled-down versions of the same design in the empty corners of a sheet so every size is covered.
How should I store unused transfers?
Keep them flat, away from heat, humidity, and direct sunlight. A cool, dry drawer or a sealed bag works well. Avoid stacking heavy items on top, since creases in the film can show up in the final print. Most transfers stay usable for a long time when stored this way, though it is worth checking the film maker's recommended shelf life.